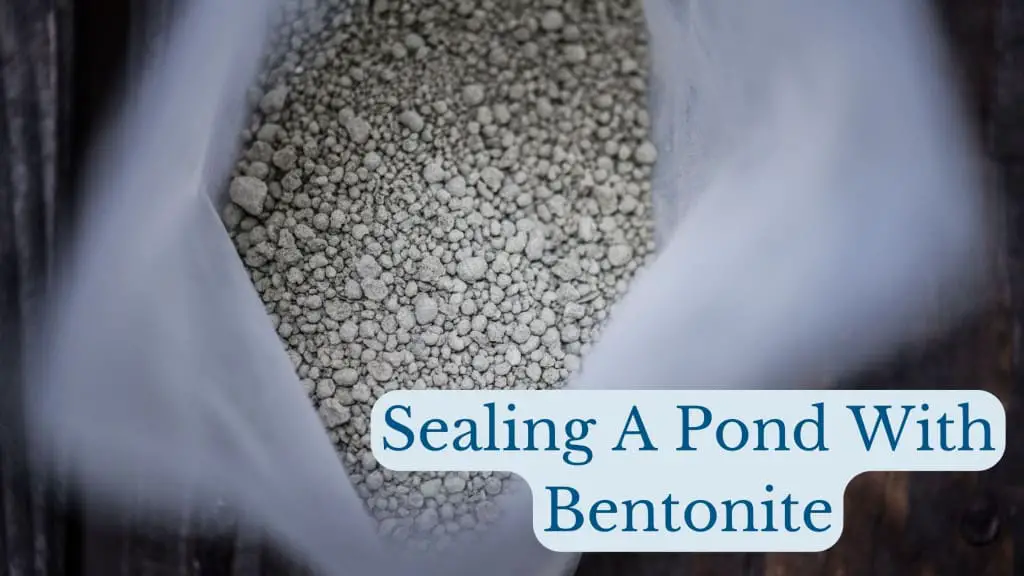
Whether you already decided to build your pond with bentonite or you just want to know if it is the right choice, this article will provide the information you need. It starts with a short introduction to bentonite and then provides a description of its use for the construction of a new pond.
The last section gives information on the use of bentonite and other products to seal off an existing pond. If you want to skip directly to the information you need, you can do so here below.
What We’re Gonna Cover:
What is bentonite?
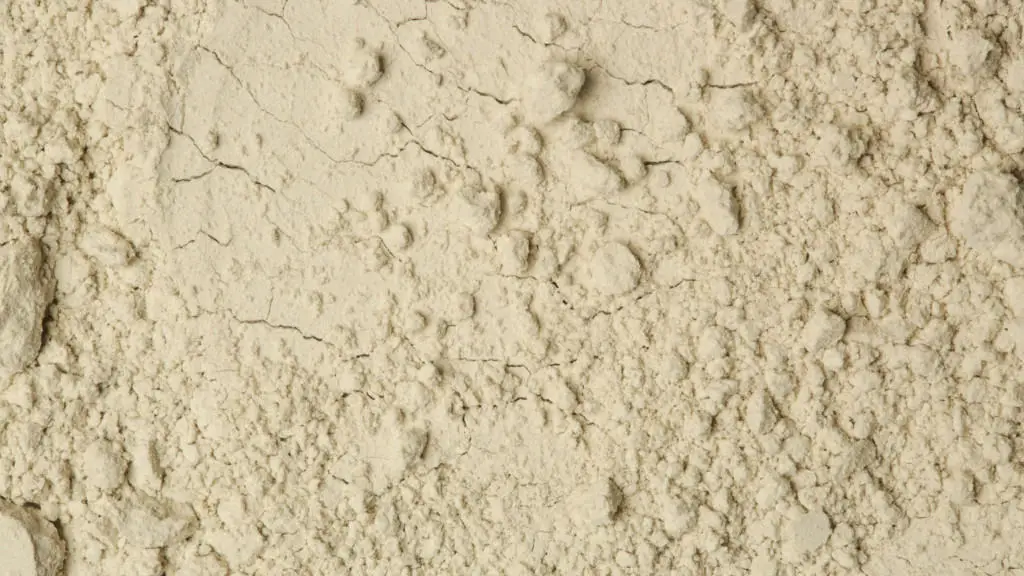
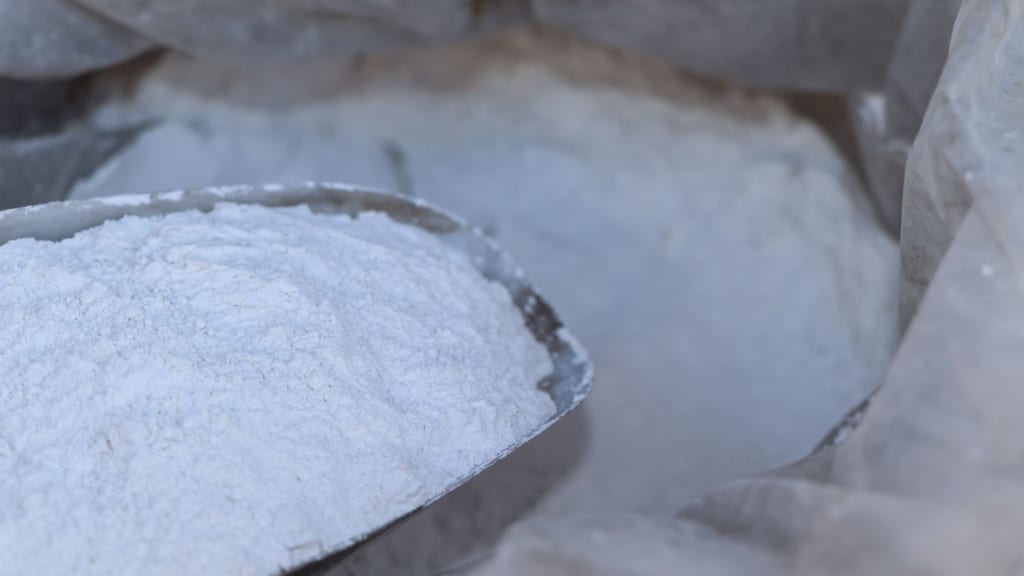
Bentonite is a natural, nontoxic clay with exceptional swelling properties. Swelling means that the volume of dry bentonite increases when it absorbs water. Bentonite comes in two “flavors”, sodium bentonite and calcium bentonite. For the sealing of ponds, we are only interested in sodium bentonite because it absorbs far better (several times its dry mass) than the calcium version. When it absorbs water, it provides a self-sealing, low-permeability barrier.
Bentonite has an amazing catalog of uses ranging from mud for the drilling of boreholes, purification in the food industry, sealant in the construction industry, agriculture, and steel industry to health care and cosmetics.
How to use bentonite for a new pond?
If you plan to construct a small pond with steep side slopes, bentonite is not a suitable option because a steeper slope with bentonite will creep downwards. You should also be careful if you plan to have a waterfall because the turbulent flow at the point of entry is likely to create a hole and wash away the bentonite in a matter of days. If you fancy a waterfall, you can still build it, but you must protect the impact location of the waterfall with geotextile, gravel, and stones on top of the bentonite layer.
However, if you aim for a somewhat larger pond with an irregular shape, sodium bentonite is a good and cost-effective method for sealing a pond because you can really create what you fancy. The only condition is that you create gentle side slopes that under no circumstance go steeper than a 1:3 ratio (V:H), preferably less (1:4 or better). This is to prevent the sides of the pond from creeping or sliding down on the bentonite layer (particularly for the blanket method, see below). If you have enough space for the required pond depth, it is much safer to limit the side slopes to an average 1:6 ratio.
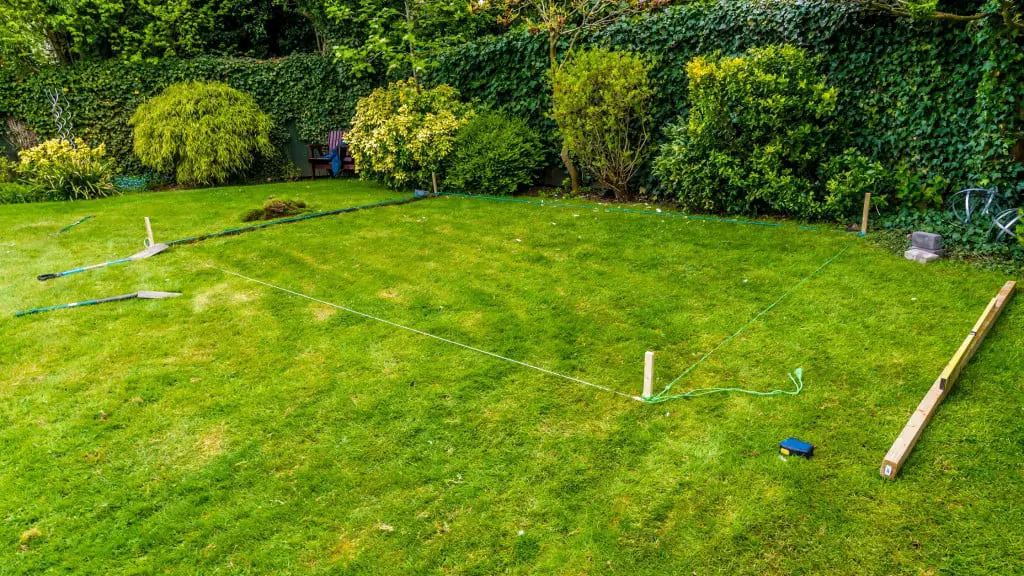
You start with the site selection, and you mark the outline of the pond with anything that works for you: pegs, rope, chalk, pebbles, or you mark it with a spade.
- For a perfectly circular shape, indicate a central pin and mark the outline with a rope around the midpoint. For a perfectly square or rectangular shape, make sure that the diagonal distances across the shape are perfectly equal. Otherwise, shape the pond according to free forms and let your creativity flow.
Note that the size of the outline should allow for sufficient depth of the pond. For example, if you want your pond to reach a maximum 5 feet deep, the width of the pond must be at least 30 feet (two sides times three times the depth of five feet). Further, if the outline of the pond is not level, you need to first excavate a platform and secure the steeper “hill-side” slope with stones or bricks with creeping plants to prevent erosion. You should also plan for the earth excavated from the pond to be deposited and used on your property or transported elsewhere. Finally, if your area is prone to extreme rainfall (inches per day) and the more so if the pond receives surface runoff during such events, you should absolutely plan an overflow or a spillway of some sort. If you aim for a pristine water quality in your pond, you should try to avoid inflow of overland stormwater by creating a slightly raised rim around the pond.
Once the outline of the pond is set, you start the excavation of the pond according to the planned shape and slopes but with an extra depth of 4 to 6 inches over the entire pond area that you will backfill with the bentonite or after applying the bentonite. You can do the excavation by hand, but even for a modestly sized pool it is a lot of work. If you are skilled to operate a mini excavator you can rent one, otherwise you better hire someone to do the entire excavation job for you. When the excavation is done, you clean the excavation area of any debris, roots, tree stumps, and rocks. Any holes from the cleaning are filled with excavated soil and compacted to attain a smooth pond area.
When the excavation is done, and the pond area is at most only slightly humid, you are ready for the bentonite. For a new pond there are two common approaches to apply the bentonite: the mixing method and the blanket method.
The mixing method
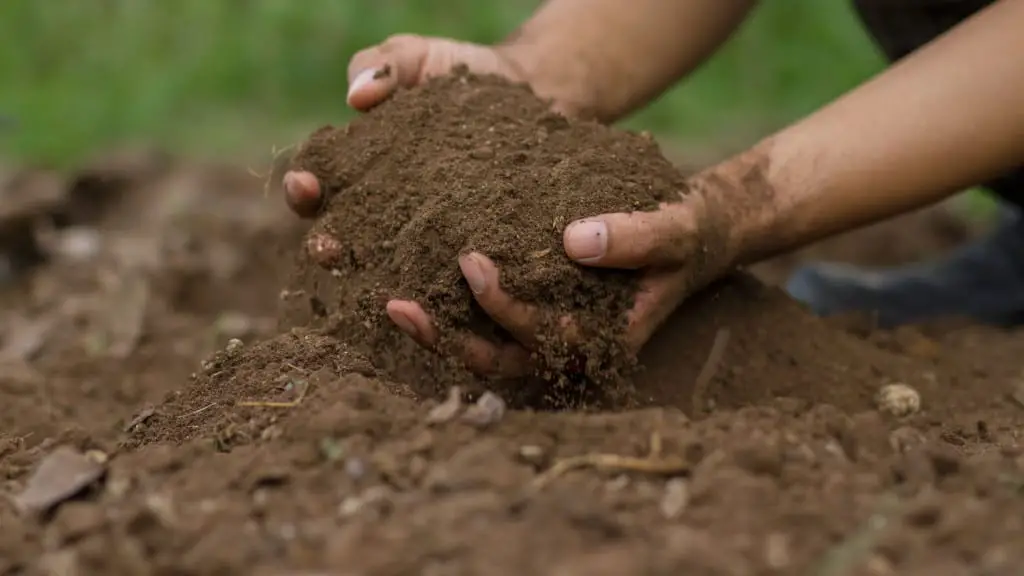
For the mixing method you take about 4 inches of the excavated soil (the extra depth previously mentioned), and you mix it (dry) with the bentonite. The recommended dosage depends on the soil texture and is roughly 2, 3, 4 and 8 pound/square foot for respectively clay, silt, sand, and coarse sand soils. Soils are typically a mixture of sand, silt, and clay, so you have to guestimate the proper dosage based on the dominant fraction (more on this later).
Soils that have a high clay content tend to be hard when dry and very plastic when wet. It will, in either condition, be difficult to mix in the bentonite, but then your soil will be impermeable from itself, and the question arises if you need bentonite at all. You can check for the clay content of your soil by squeezing a handful of damp soil. If the soil forms a malleable ball that is hard to break, the soil may likely have a high clay content.
For less heavy soils, you can mix the bentonite in the pond area (with a rake or a mechanical tool for larger ponds), or you can mix outside the pond by hand or with a concrete mixer. The mixing goes best when the soil is rather dry. You spread the mixture evenly over the pond area. If there is enough humidity in the mixture, you compact it with a punner or (mechanical) plate compactor. You can test the humidity for effective compaction by squeezing a sample of the mixture in your hand. If the sample just retains its shape when opening your hand, it is good for compaction. If the sample falls apart, it is too dry. In this case (the mixture is too dry), you compact lightly, humidify, wait for the moisture to penetrate the layer, and compact again. The optimum moisture content is around 10% for sandier soils and higher for fine-grained soils (up to 20%). Take care that you do not wash out the mixture or wash it from the side slopes. Take inspiration from the spraying of a clay tennis court to do it right (if needed). An easy and reliable method is to add some water to the mixture in the concrete mixer (after the mixing is done). As soon as the compaction is finished, you start filling the pond with water. Do this carefully to avoid damaging the bentonite layer with the water jet. You can protect the bentonite layer with a large sheet of plastic to cover the bottom area. Mind that it may take a couple of days before the bentonite seal works effectively.
The blanket method
For the blanket method, you excavate about 4 to 6 inches of soil, as previously mentioned (the extra depth), and you clean and align the area that will be flooded. When the excavation is clean, smooth with gentle slopes, and reasonably dry, you evenly distribute the bentonite in a single layer (like a blanket). The recommended dose is about 1 to 2 pounds per square foot. However, 1 pound of dry bentonite (compacted) converts to about 1/3 of an inch (5/16), which is a rather thin layer to make sure that the whole area is sufficiently covered. We suggest a minimum dosage of 2 pounds per square foot to obtain adequate pond-wide coverage without holes. When the bentonite has been evenly distributed across the pond area, the previously removed 4 to 6 inches of soil is cautiously placed on top of the bentonite. Lastly, the newly created layer of soil is lightly compacted, cautiously humidified, compacted again, and carefully filled. These last steps are identical to those of the mixing method.
Comparison and recommendation
The blanket method demands less effort but requires a very precise operation to avoid insufficiently covered spots in the pond area. The mixing method still requires a precise operation, but it is somewhat forgiving if you miss one inch on a layer of 4 or 6 inches. The mixing method requires more work. For either method, you require a period without rain and, particularly for the blanket method, no wind when the bentonite is applied.
It is highly recommended to process the bentonite within a day (at least mixing, distribution, light compaction, and humidifying while praying for no rain; the final compaction and filling can be done the next day). If your pond is too big to process in a single day, you may create an overlap, but you should plan for the overlap to be as small as possible and the blanket to be perfectly aligned.
How to use bentonite to seal an existing pond
Bentonite can also be used to seal a leaking pond. For an existing pond that leaks too much water to your liking, you have a choice between the already introduced mixing method and the blanket method, as well as a so-called sprinkle method. For the first two methods, the pond needs to be drained and reasonably dry before you can apply bentonite, as specified above. If, for one reason or another, it is not possible to drain the pond, you can apply the sprinkle method, which is the least recommended because it is difficult to apply a uniform dose, and the layer of bentonite is fully unprotected in case of disturbance (clearing vegetation, recreation, cattle watering, etc.)
The sprinkle method
With the sprinkle method, you sprinkle granular bentonite in the pond, which will sink directly to the bottom of the pond, to swell and seal off leaks. You can apply the bentonite from the side or from a boat. There is no recommended dose to be given, but the application rate should be higher than the blanket or mixing methods because your application is less precise. We tentatively suggest a minimum dosage of about 4 pounds per square foot, but more may be needed. The following steps are required:
- Remove any fish and other creatures from the pond.
- Clear the bottom of the pond from vegetation and trash (including any old pond liner) that may hinder the even distribution of bentonite.
- Try to distribute the granular bentonite evenly across the pond area. If you have a larger pond, you may span lines across the pond to create application squares to ensure a proper dosage per square.
- Wait for the leakage to reduce.
Other products
A similar product with some good reviews is Soilfloc® which is a polymer pond sealer reported to be substantially cheaper than sodium bentonite. Our relative price estimation for a hypothetical 40,000 square feet pond, gave a cost of 0.47 $/ft² for 4 pound/square foot bentonite, against 0.30 $/ft² for Soilfloc (15 units). We recommend that you request your own price quotations.

Advice
Please note that bentonite and Soilfloc are intended to seal seeping ponds. If there are definite leaks (fast flowing) at specific locations, neither bentonite nor Soilfloc will be effective because they will wash away. Soilfloc is intended for pond repair and not for construction.
Use and maintenance limitations for a “bentonite” pond
Considering that a “bentonite” pond provides for a seal of about half a foot, we advise against dredging because there is a high risk of damaging the impermeable layer. Aquatic vegetation can be cut but should not be extracted with the plant roots as this will again damage the bentonite seal.
The access of cattle may also compromise the bentonite layer, but bentonite is a fully natural clay with no restrictions for cattle, fish, or other aquatic creatures.
Legal matters
Before you embark on a pond project, verifying if authorization from any authority is required is highly recommended. This holds particularly for larger projects and if you plan to excavate below groundwater level. If you plan to occasionally drain excess pond water on the municipal sewer system or any natural drain or river, you should absolutely inquire if this is allowed.
The relevant authorities will likely be your municipality and/or a water management authority and municipal wastewater treatment service provider. If you rent your home, you should contact your landlord, and if you happen to partake in a collective garden or a garden community, you may communicate with the community or their representatives before you start your project.
