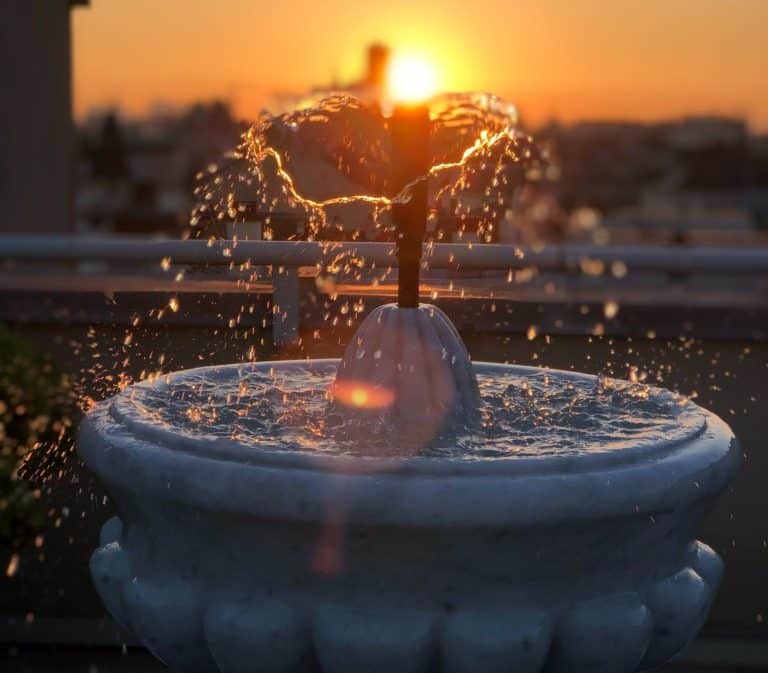
Painting can be seen as a daunting task full of messes to clean up. Yet it also offers a beautiful masterpiece and customization accomplished no other way. Fountains may seem bland at first, but with a few strokes of a brush here and there you can have a magnificent fountain that will bring greater beauty to your home or backyard.
Painting a fountain requires preparatory work including choosing the correct type of paint and cleaning the area. Once those are completed, you can paint and seal the fountain with brushes. It does not require excess skill but will take time and effort.
Preparatory work, the actual project, and the clean-up are all important aspects to understand before beginning a project. Understanding the in’s and out’s of painting a fountain will be pivotal as you go through the motions.
Do’s and Don’ts
- Get the correct type of paint for your fountain material.
- Make sure the fountain is dry and clean before you begin painting.
- If painting outside, be sure the weather will cooperate with you for the entire drying time. No rain for at least 6 hours, if not more depending on the number of coats and drying time you will need.
- Always allow proper drying time, when in doubt give it an extra hour or two.
- Do your research before you begin your project. Know which paint you need and how much of it you need.
- Do not get electrocuted. Unplug all pumps and other electrical features before you drain and paint the pond.
- Do not get worried when the paint goes on a different shade than you originally thought, oftentimes it will dry to the desired color.
- Do not forget to clean the fountain thoroughly with the correct materials before painting.
- Do not forget to add primer before you paint!
- Do not use paints, primers, and sealers that are not waterproof!
What You’ll Need
There are a variety of materials you could gather as you look to start your painting project. Each will be helpful as you set up and make trips to the hardware store and get ready to get a messy area looking fresh and beautiful. Each of these will depend upon your own needs and upon the type of fountain you have, but it is a collective list!
- Paint (find the right kind!)
- Paint Brushes (ones that one leave debris in your paint)
- Cleaner (dish detergent for concrete, vinegar for old paint, turpentine fr metal, bleach for fiberglass and resin fountains)
- Clean rags (for cleaning, removing old paint, drying, and touch ups)
- Water Hose or Bucketed Water
- Tarps or Plastic Sheets
- Primer (the right one!)
- Sealer (for concrete fountains)
- Tape and Paint Sticks
- Brushes to clean tough, tight spots on the fountain.
- Paint Trays or Paint Sprayers
- Sandpaper (for helping your surface be ready for paint)
When purchasing materials, be sure to buy enough paint, primer, and sealer to last the multiple coats you will have to apply. You will want to apply at least 2 or 3 coats of each one in order to combat the environmental elements and the water constantly cycling through the fountain.
Once you finish painting, let your water feature dry for as long as possible before adding back in water and starting the pump again. The beauty of it all will take time, but in the end, it can turn out wonderfully.
Types of Fountains and Paints
Whatever type of fountain you have, whether it is fiberglass, resin, concrete, cast stone, ceramic, or metal, some processes will be the same. Be sure to clean it with the proper materials before you even begin. If there are parts you don’t want to be painted, tape them off and make sure the ground underneath is covered so you don’t get paint drips on it while you paint and clean.
Fiberglass
Fiberglass fountains are popular because of their light weight. They weigh the least of all other fountains and are easily assembled and maintained. Despite its weight, it is fairly hardy and does not break easily. People often paint fiberglass fountains. The best way to do it would be an epoxy primer and paint. Obviously, many coats will need to be applied to ensure that the water does not cause damage quickly.
Epoxy pool paint is the best option for a fiberglass water fountain. To begin the process, start by turning off all electricity, draining the fountain and removing the pump, give it time to dry before you begin painting. Then you can clean the fountain thoroughly.
For a fiberglass fountain, combine one cup of bleach with 1 gallon of water and grab a bristled brush. Scrub the entire surface as well as any small cracks of crevices so that the area is all ready for a clean coat of paint. Rinse off all the cleaner and allow the fountain to dry.
Once the fountain is dry and you are ready to paint, apply at least two coats of epoxy primer to give the paint a good solid surface to stick to. Apply the primer and paint starting at the top and working your way down the fountain to avoid noticeable dripping.
Once you have a thick coat of primer, allow it to dry for at least 2 hours. Then paint in the desired color from top to bottom. Apply multiple layers, allowing an hour of drying time in between each coat. A fiberglass fountain, now painted and beautified with epoxy paint and primer.
Resin
A resin fountain is basically a formation of epoxy plastics often also called polystone or polyresin. Source. It is lightweight and less expensive than other fountain competitors. It can also be painted but will require a little extra maintenance because of the moisture within and around the fountain.
Following the same basic steps mentioned with a fiberglass fountain, you should begin by draining the water and removing the pump. Once you have done this you can dry the surfaces with a towel and wash it with the same formula: 1 cup of bleach and a gallon of warm water. Doing this will help to remove any mold that may be or is on the surfaces. Allow the fountain to dry.
In order to allow the paint something to stick to, you can sand the entire resin fountain with a medium grit sand paper. This gives the paint, primer and sealer a place to sink into and a better surface to stick too. Be sure to then wipe away the dust and debris from sanding with a damp rag. Leaving this behind will not make for a good painting surface.
When choosing a paint for a resin fountain, you will want one that is specifically for plastic surfaces. For example, acrylic paints will not stick to plastic very well but the top plastic paint on the market right now is Krylon Fusion for Plastic. Be sure that it also mentions the importance of a “bonding” paint.
Then move your hand back and forth across the fountain as you begin spraying the fountain. Spray the fountain first with a layer of primer, and once it has dried apply multiple coats of spray paint.
Metal
According to SFGate, when painting a metal fountain, it’s best to use 100% acrylic latex paint or oil-based paint. Either of these will work, but it will also be helpful if it specifically says on the label that it is made to be used on metal.
The same goes for each type of surface you paint on. The oil based paint will take longer to dry and the type of paintbrush you use will matter, some will shed into the mixture making it appear bumpy.
Before you begin painting metal, you should clean the surface to remove all seen and unseen grime. Using vinegar or turpentine will help to clean the surface before you begin.
You will also need to buy a metal anti-rust primer to apply before applying your paint. Apply two coats, allowing each to dry, and then you can begin painting the metal. You can use a normal paint brush, or a roller brush to coat the entire surface.
Concrete
Concrete fountains are really durable, and really heavy. They makes for great painting surfaces and can be really customization in their creation and in their decorative touches. They don’t fade in color and durability near as quickly as do resin and fiberglass ponds, but they are more expensive to install and will require more man power.
When choosing a paint for a concrete fountain, you have a couple more options. For concrete, you can use oil based stain and paint, an exterior latex paint, or a masonry paint. When looking for a paint watch for words like “garage floor” or “concrete surfaces” to ensure you are getting the right paint. Also be sure to find a sealer which is compatible with the paint you choose.
When applying paint on concrete, you first need to seal the concrete with a concrete sealer, and then add a primer (optional) and then add your paint. A sealer will sink into your concrete and ready the pores in order to help the paint and primer have a place to stick. Each of these will help the paint to last longer, especially in the outside elements.
To begin actually painting a concrete fountain, drain all the water and clean the fountain with a grease cutting dishwasher detergent. Then rinse it with a garden hose until the water is clear, not soapy or murky. You can then wipe it dry, but be sure to let it air dry for multiple hours before you begin painting.
Apply the sealer, and allow it to dry for 24 hours or what is suggested by the manufacturer. Then apply the primer, allowing it proper drying time before painting. You can brush the paint on, or use a sprayer. If you do use a sprayer, be sure to get a wide nozzle because the paint is likely to be thick. Once it is painted allow it to dry for at least 24 hours in between coats and after completed.
Painting With Moisture & Other Tips
In all painting situations it is important to consider your surroundings. Obviously while painting a fountain you may need your paint to withstand sitting in constant water, or at least the occasional splash. As a matter of fact, cast stone or concrete are very porous materials that will absorb water and deteriorate paint if not applied and maintained properly.
Make sure that all paints, primers, and sealers that you buy are water proof and react well with one another. This will add to the durability of your fountain and help you paint to stay looking fresh and vibrant in color.
Priming, and painting can all be waterproof, but if you need an extra measure you can buy a waterproof top coat. Whatever decision you make, be sure to look into each brand. Waterproof materials are good at protecting against many other environmental problems like sun weathering and erosion.
If your fountain already has paint that is cracking, chipping, or just not the right color be sure to take it off before you begin a new painting job. In removing old paint, first, clean the surface and finish chipping or scraping off paint that has already pealed. You can then apply a stripper and wait about 20 minutes before scraping and cleaning it off again.
If needed you can repeat this process until all the old paint is gone. Before you begin painting again, be sure to have the surface thoroughly cleaned and dry.
Often times you can also use vinegar as a way to remove old paint. It can be a great option if you don’t want to actually buy paint stripper because it is inexpensive and very environmentally friendly. Plus, you can normally find it right around the house. The smell can be strong, but it won’t last long and your fountain will be clean and flaky paint free.